
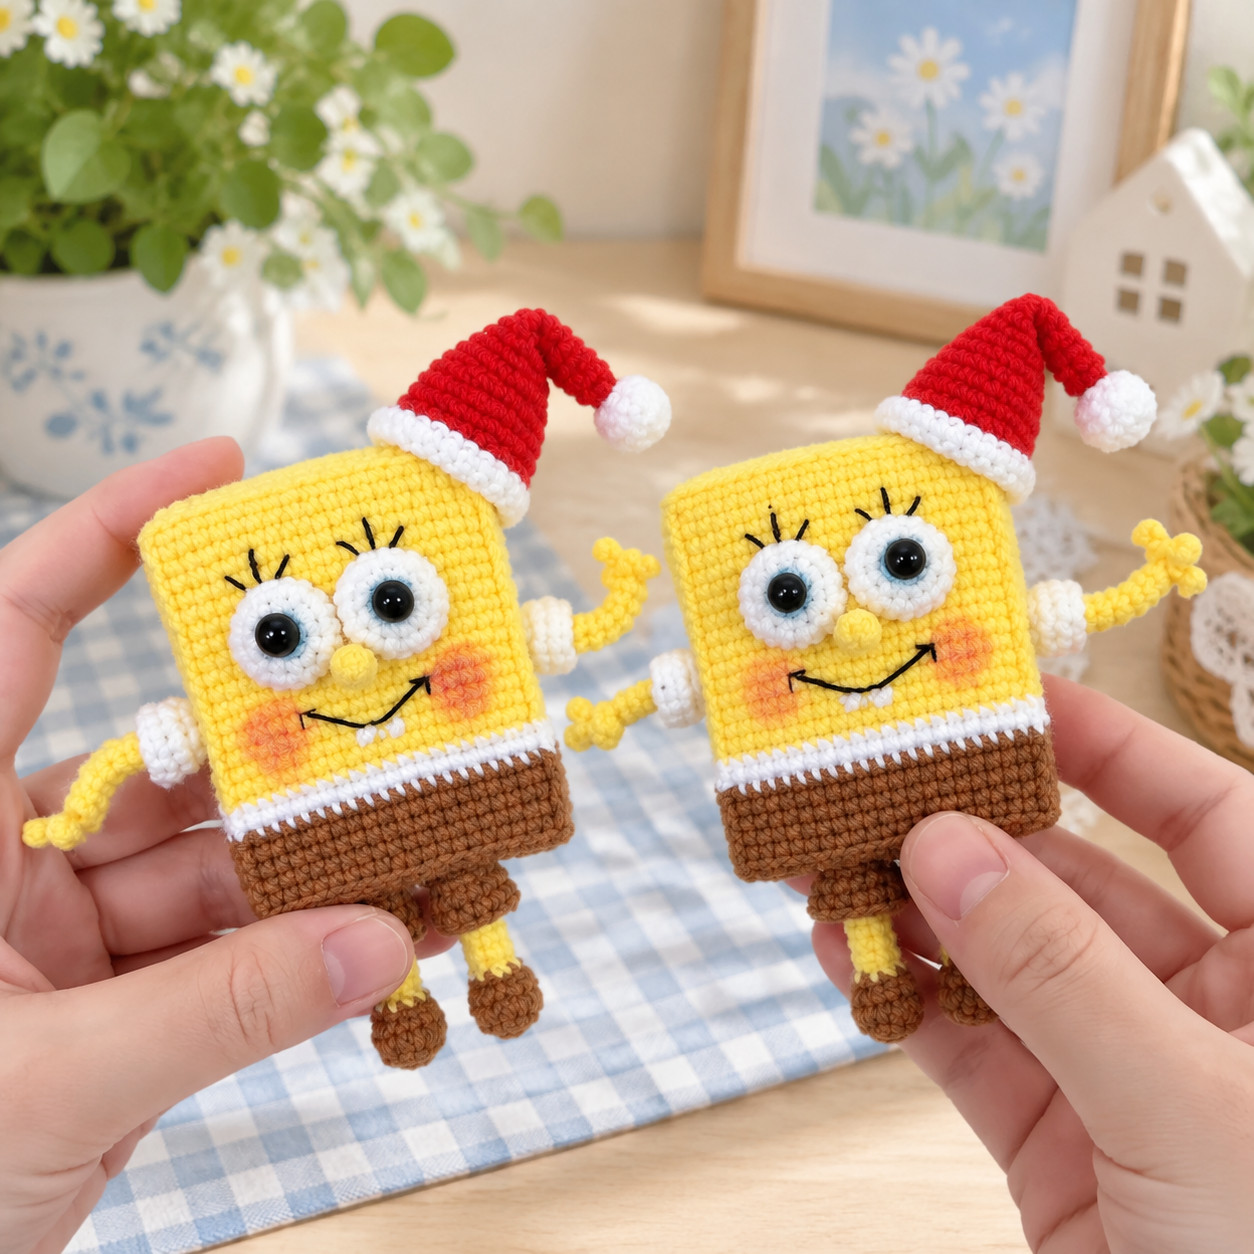
Everything about this pattern, before you pay for it
Most pattern listings tell you after. Here is the whole spec.
| What it is | A written crochet pattern, delivered as a PDF. The file itself is titled The Sea Sponge in a Santa Hat. |
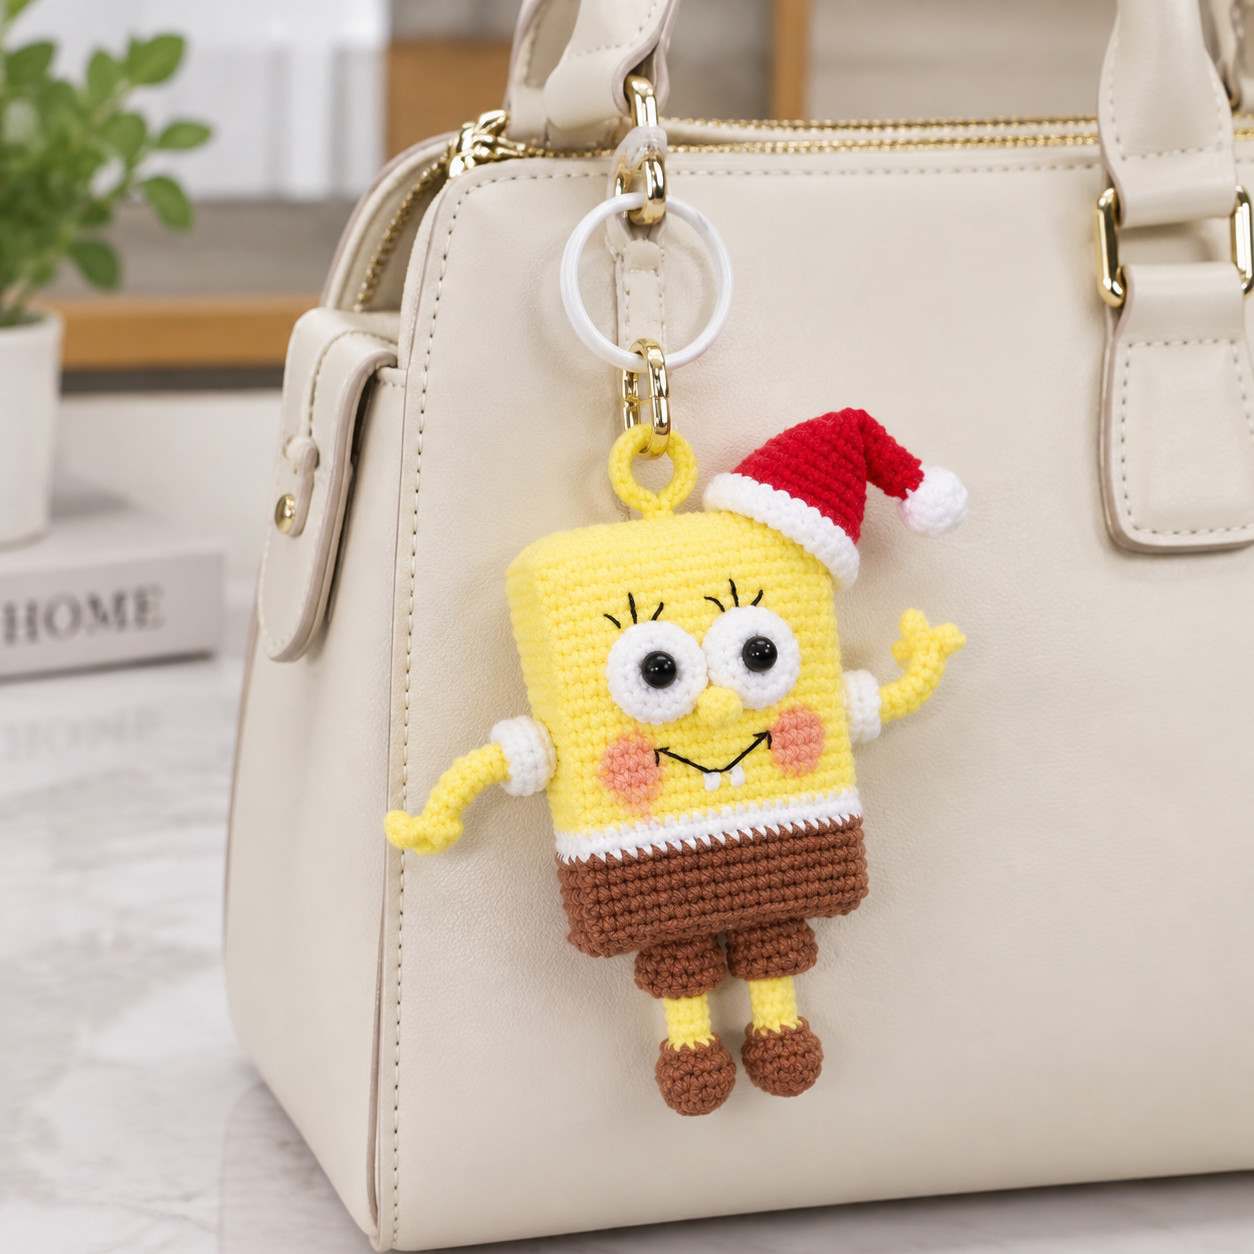
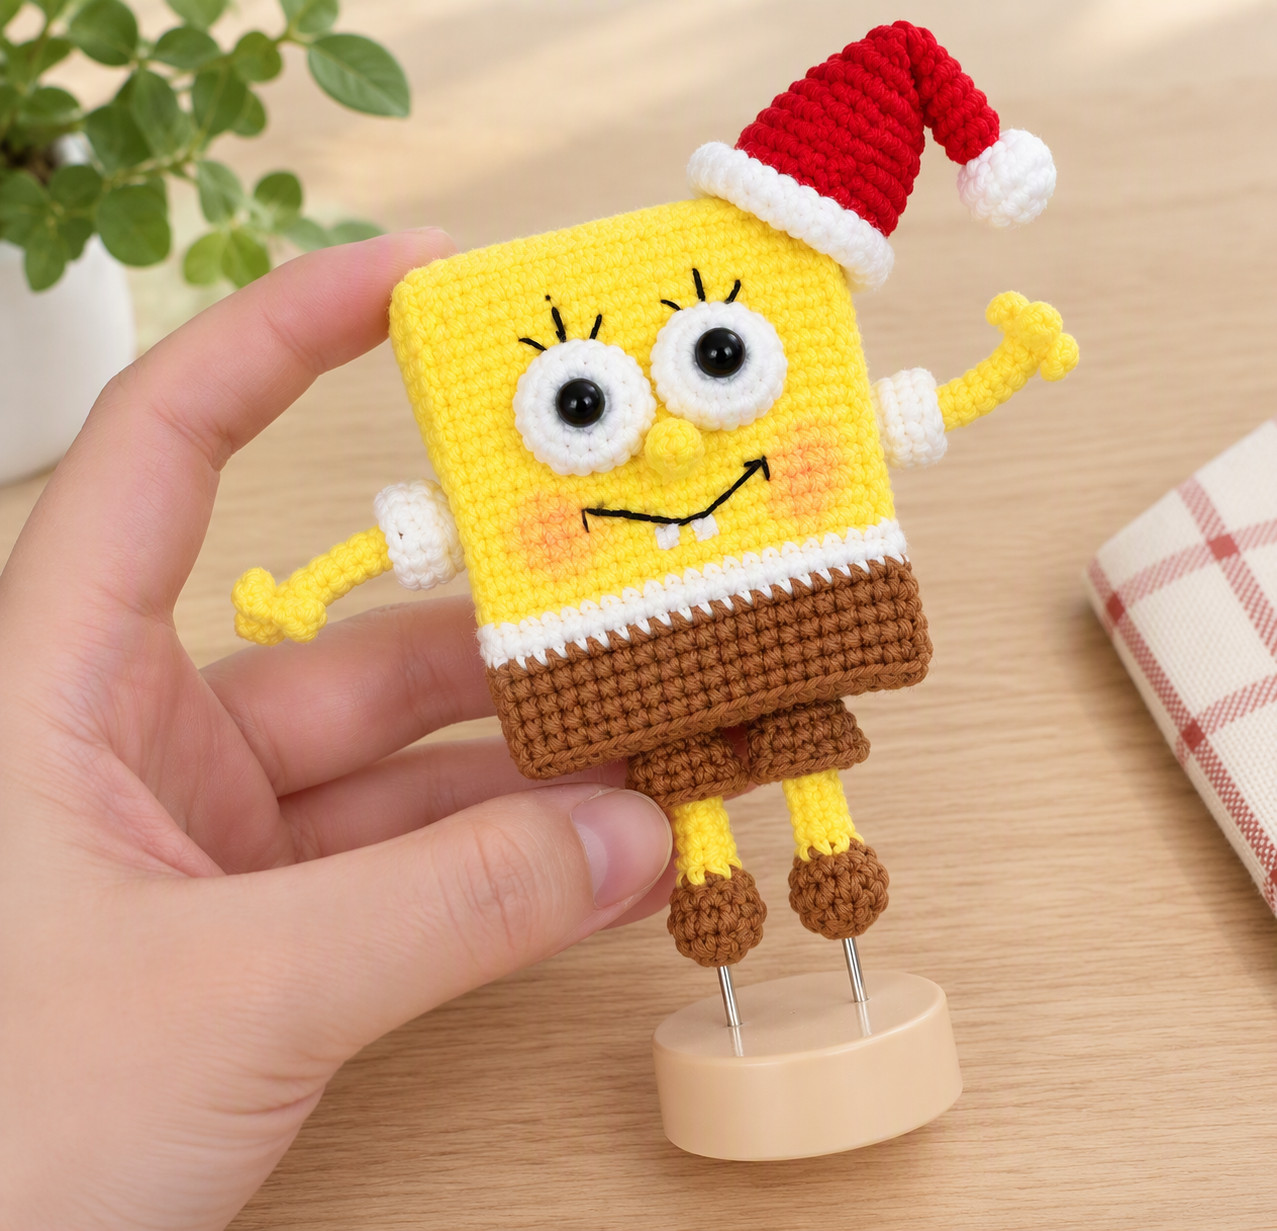
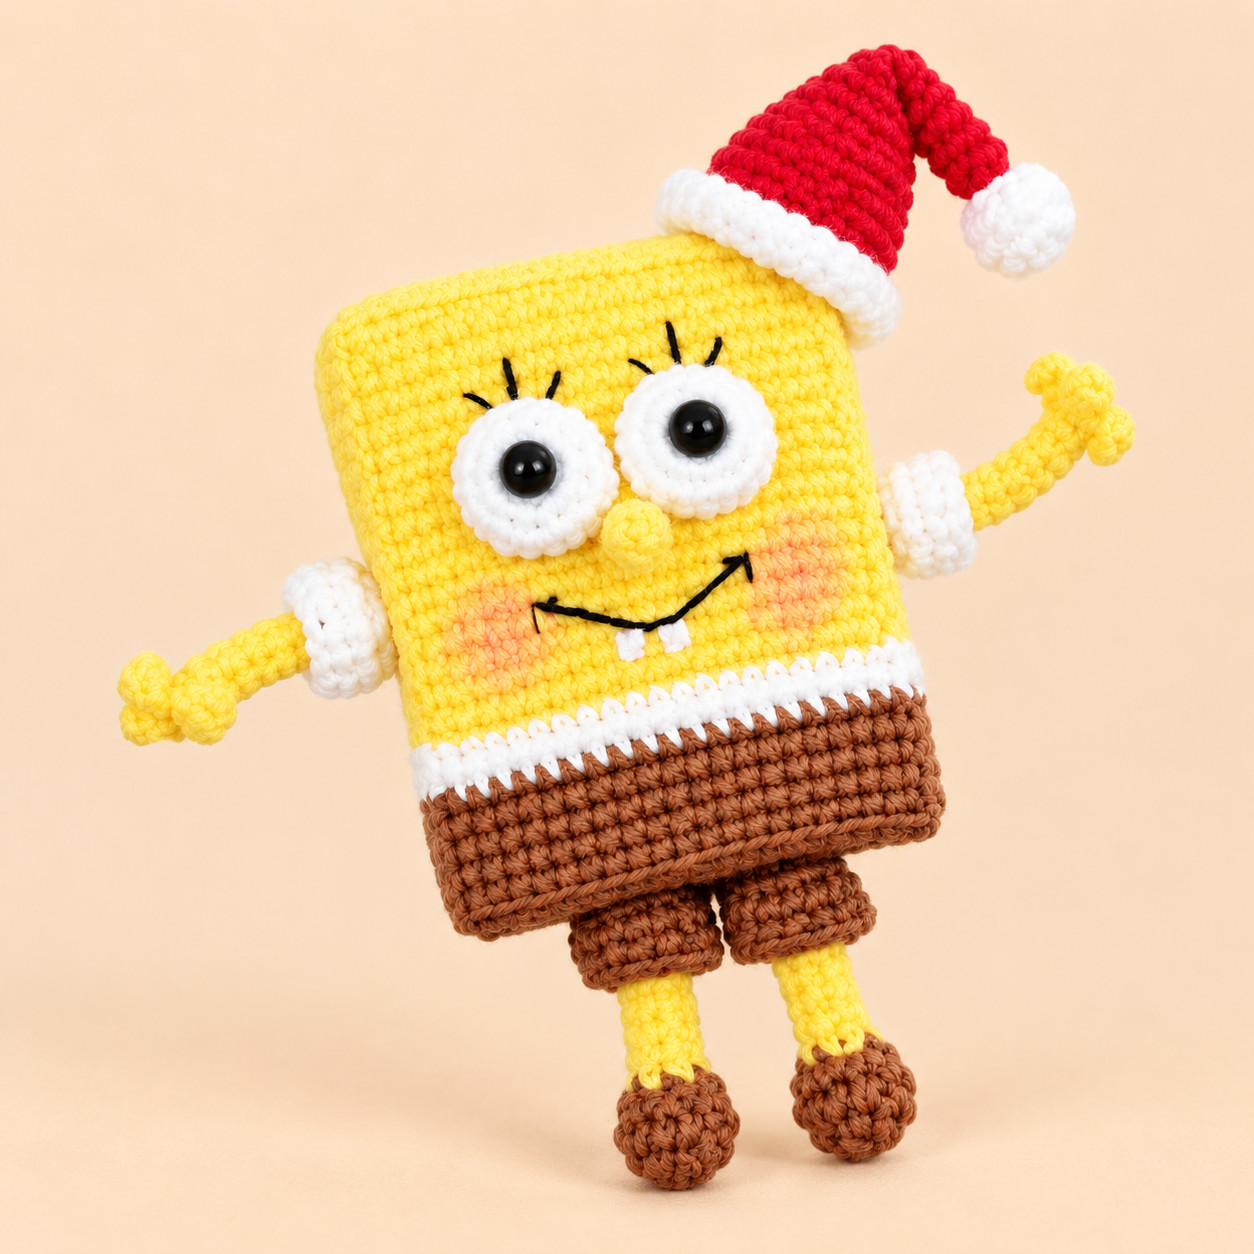
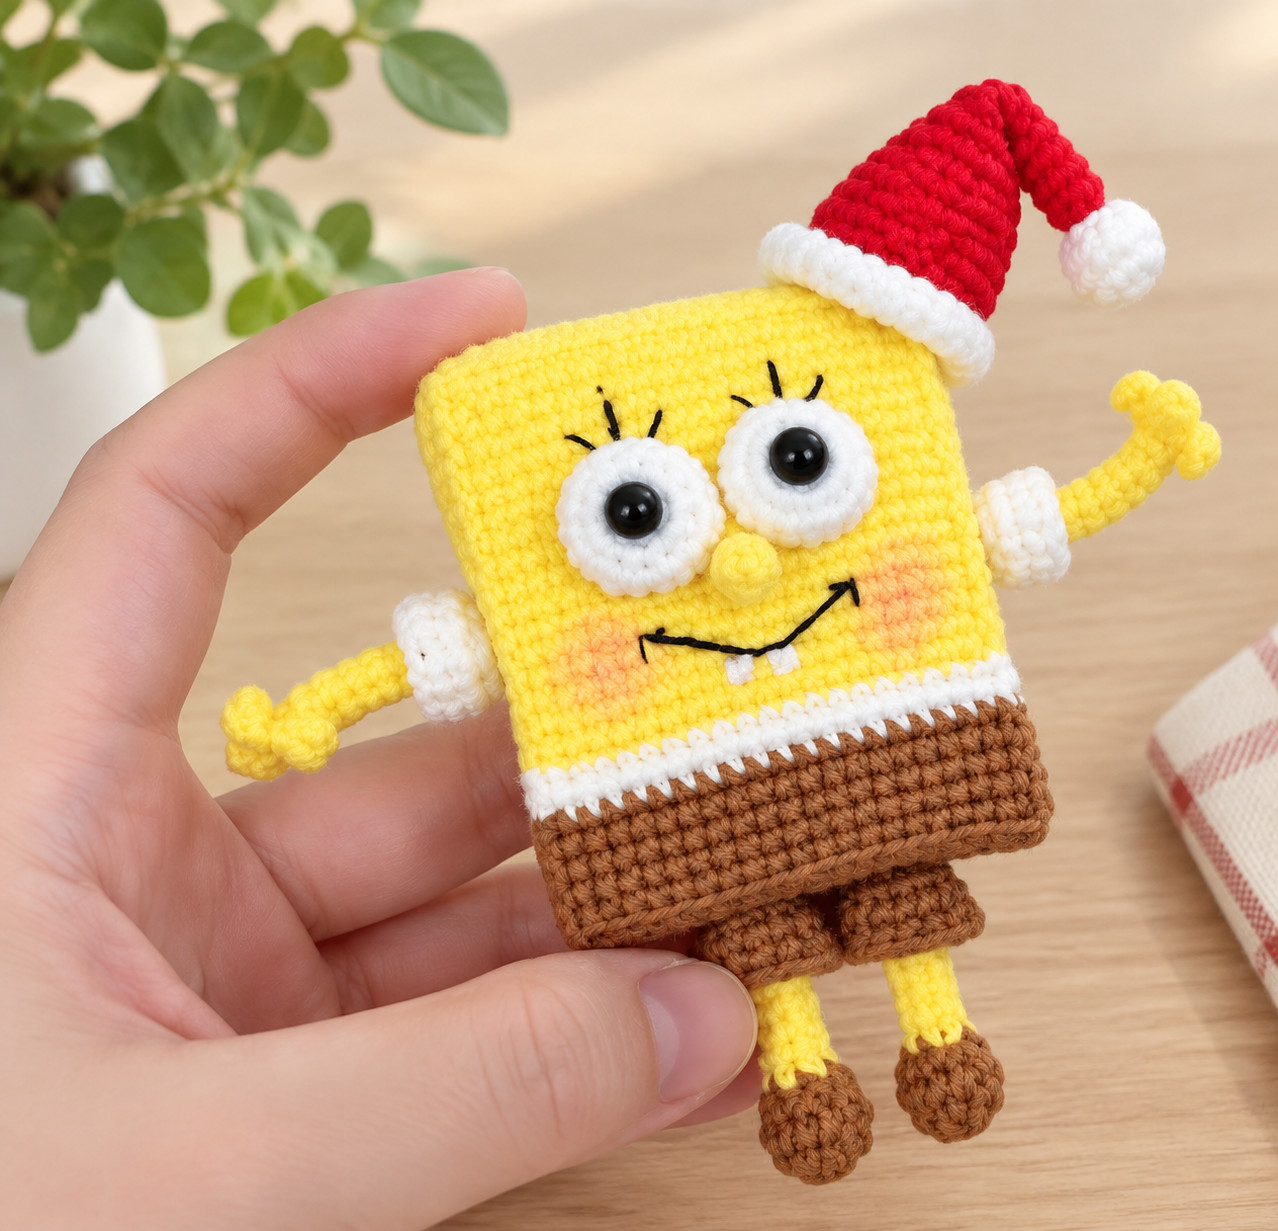
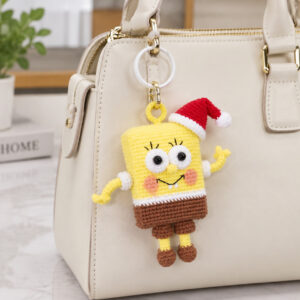
| What you make | A boxy yellow sea sponge with a white shirt band and brown shorts, big white eyes with a blue ring, a small nose, stick arms with three fingers in white sleeves, thin yellow legs in brown shoes and brown shorts legs, and a red Santa hat with a folded white brim and a pompom, flopped over to one side. |
| Finished size | About 11–12 cm (4¼–4¾ in) tall. |
| How long it takes | About 6 hours. |
| Hook | 1.8 mm. |
| Yarn | 4-ply, about a US sport weight, in six colours: yellow, white, brown, red, blue and black. |
| Yarn needed | About 22 g (55 yd) of yellow, 7 g (20 yd) of white, 10 g (25 yd) of brown, 5 g (15 yd) of red, and 1 g (5 yd) each of blue and black — about 46 g (125 yd) in all. |
| Skill level | Intermediate, which is what the pattern itself says: rows and rounds in one piece, front post stitches, colour changes, and a sewn seam. |
| Techniques used | Starting with a magic ring, and with a chain · joined rounds, closing each one into its first stitch · turned rows · chain, slip stitch and single crochet · the single crochet increase and the invisible decrease · the front post single crochet · working through the back loop only · changing colour at the end of a round · an invisible join, made with the yarn needle · sewing two edges together stitch for stitch · embroidering a face with straight stitches · gluing pieces on |
| Worked in | Turned rows for the top and the bottom flap; joined rounds, each closed into its first stitch, for everything else. The yarn-under single crochet and the invisible decrease — both explained in the pattern, with what changes if you crochet the usual way. The starting chain never counts as a stitch. |
| The body | One piece. Rows 1 to 6 are a flat rectangle 20 stitches wide — the top. Round 7 goes all the way round it through the back loop, 6 + 20 + 6 + 20 = 52, and turns it into a box. Rounds 8 to 30 hold at 52 with a front post single crochet at each of the four corners: yellow to round 23, white for 24 and 25, brown from 26. Rows 31 to 36 are a 20-stitch flap worked from one long side, sewn to the other three once the body is stuffed. |
| The eyes | Three rounds of white, from 6 to 18, with a ring of blue slip stitches between rounds 1 and 2 and a 6 mm eye glued at the centre. |
| The arms and legs | Each arm is a five-stitch tube with three chain fingers, glued into a white sleeve. Each leg is a brown shoe and a thin yellow leg, glued into a brown shorts leg. |
| The hat | Red, growing by three every other round from 6 to 27, then four rounds of white that fold up into the brim. A small white pompom — a ready-made one works too. Folded to one side and glued. |
| The face | Eyelashes above each eye and a mouth in a single strand of black, teeth cross-stitched in white below the mouth, and blush on the cheeks — placed by eye. |
| Number of pieces | Fourteen: the body, two eyes, the nose, two arms, two sleeves, two legs, two shorts legs, the hat and the pompom. |
| Count checkpoints | Four: 52 at the end of the body’s round 8, 20 at the end of its row 36, 6 at the end of a leg’s round 4, and 27 at the end of the hat’s round 15. |
| Sewing and glue | The bottom flap is sewn to the body, stitch for stitch. Everything else is glued: the eyes and nose, each arm into its sleeve and onto a side, each leg into its shorts leg and under the body, the pompom, and the hat — which can be sewn on instead. |
| Stuffing | About 10 g. The body loosely — packed firm, its flat sides bulge — and a little in the legs and the pompom. |
| Also needed | Two 6 mm eyes, glue, about 10 g of fiberfill, blush, stitch markers and a yarn needle. Two short pieces of shaping wire are optional, if you want the arms to bend and hold a pose. |
| Pages | 25 |
| Printing | The instructions are real text, not pictures of text — so you can search them, copy them, enlarge them, or have them read aloud. |
| Terminology | US crochet terms |
| Language | English |
| Left-handed | Written for you too. Work it exactly as written: every round has the same stitches and the same count, and you are simply working the other way round. The body is symmetrical and the pairs are made from the same instructions, so nothing needs to change. |
| Delivery | Download link on the confirmation page and in your email, straight away. |
Real crochet, captured while it was being made
You have learned to zoom in on a listing photo looking for stitches that don’t join up. You should — the shops selling patterns behind pictures that were never crocheted are real, and there are a lot of them.
So here is the unglamorous version: the flat yellow top, worked in rows, with the hook still in it; the same piece at round 8; and the body closed into a box, its white and brown bands along the bottom. Every one of these was captured while the piece was actually being made.
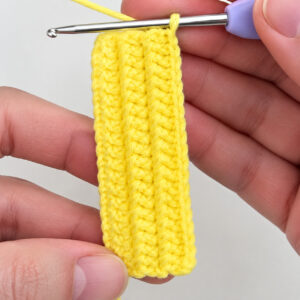
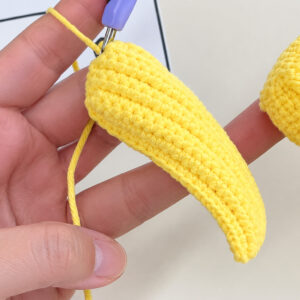
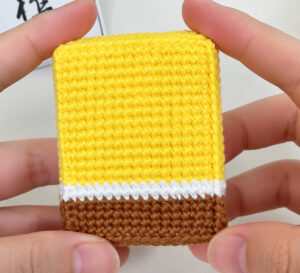
The body at round 8 is the one to look at. The flat top is done, one round has gone all the way round it, and at each corner a ridge is just starting to stand up — that is where the box comes from.
Nothing on this page is an AI-generated sponge.
Counted twice
My grandmother taught me on her porch, and she said the same thing every time I tangled the yarn: slow down, count twice, rip it out if it’s wrong — there’s no shame in starting over.
So every pattern in this shop gets counted twice. Once when it’s written. Then again, before it goes on sale: every round is re-added, stitch by stitch, and checked against the round before it.
That’s the whole thing. It’s not clever. It is just the step almost nobody takes, because until a pattern is written down properly you can’t take it — and because nobody was ever asked to show their working.
I’m asking to show mine.
The worst thing a pattern does is not be difficult. It is to be wrong early, so that you find out rounds later and spend the next twenty minutes wondering whether it was you.
On this one, the likeliest place for that is round 8, and the reason is the round before it. Round 7 goes all the way round the flat top, a single crochet into every stitch. Round 8 is the first round with corners: at each one, a front post stitch goes round the stitch below instead of into it, and the next single crochet goes into the stitch after that. The top of the stitch you just went round still looks free, and after a whole round of going into every top, the hand goes back into it. So round 8 ends on a checkpoint — 52, with a front post stitch at each corner — and if you are off, it tells you where to look first. Every round after it, up to round 30, turns its corners the same way, so that stitch is where to look on all of them.
Counted twice means you can tell. No more counting the same round for the third time, writing it out on paper to make it add up, and still not knowing whether it’s you or the pattern. The count in the pattern is right. If yours doesn’t match it, the slip is in the round you just made — undo that one round and carry on.
You probably have one project in a bag somewhere, stopped at a round you can still name. Often it stopped on a count that wouldn’t come out. Every count in this one comes out, which leaves you the part you came for: finishing it before Christmas, and handing it over without an apology.
Here is a real page of it
A pattern that was never crocheted can show you a photograph. It cannot show you a page.
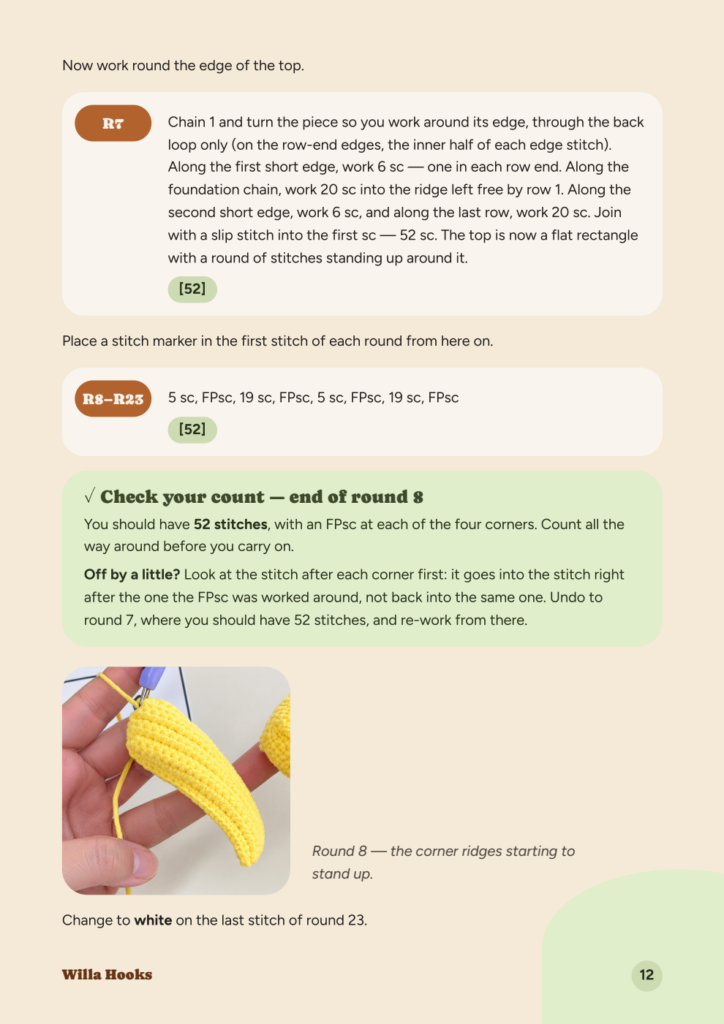
That box is the end of round 8: 52 stitches, with a front post stitch at each of the four corners. If you are off, it tells you where to look first — the stitch after each corner, which goes into the next stitch along, not back into the one you worked around. This is page 12 of the 25 you get, and it is the same page you will be reading with a hook in your hand.
Reviews
There are no reviews yet.