
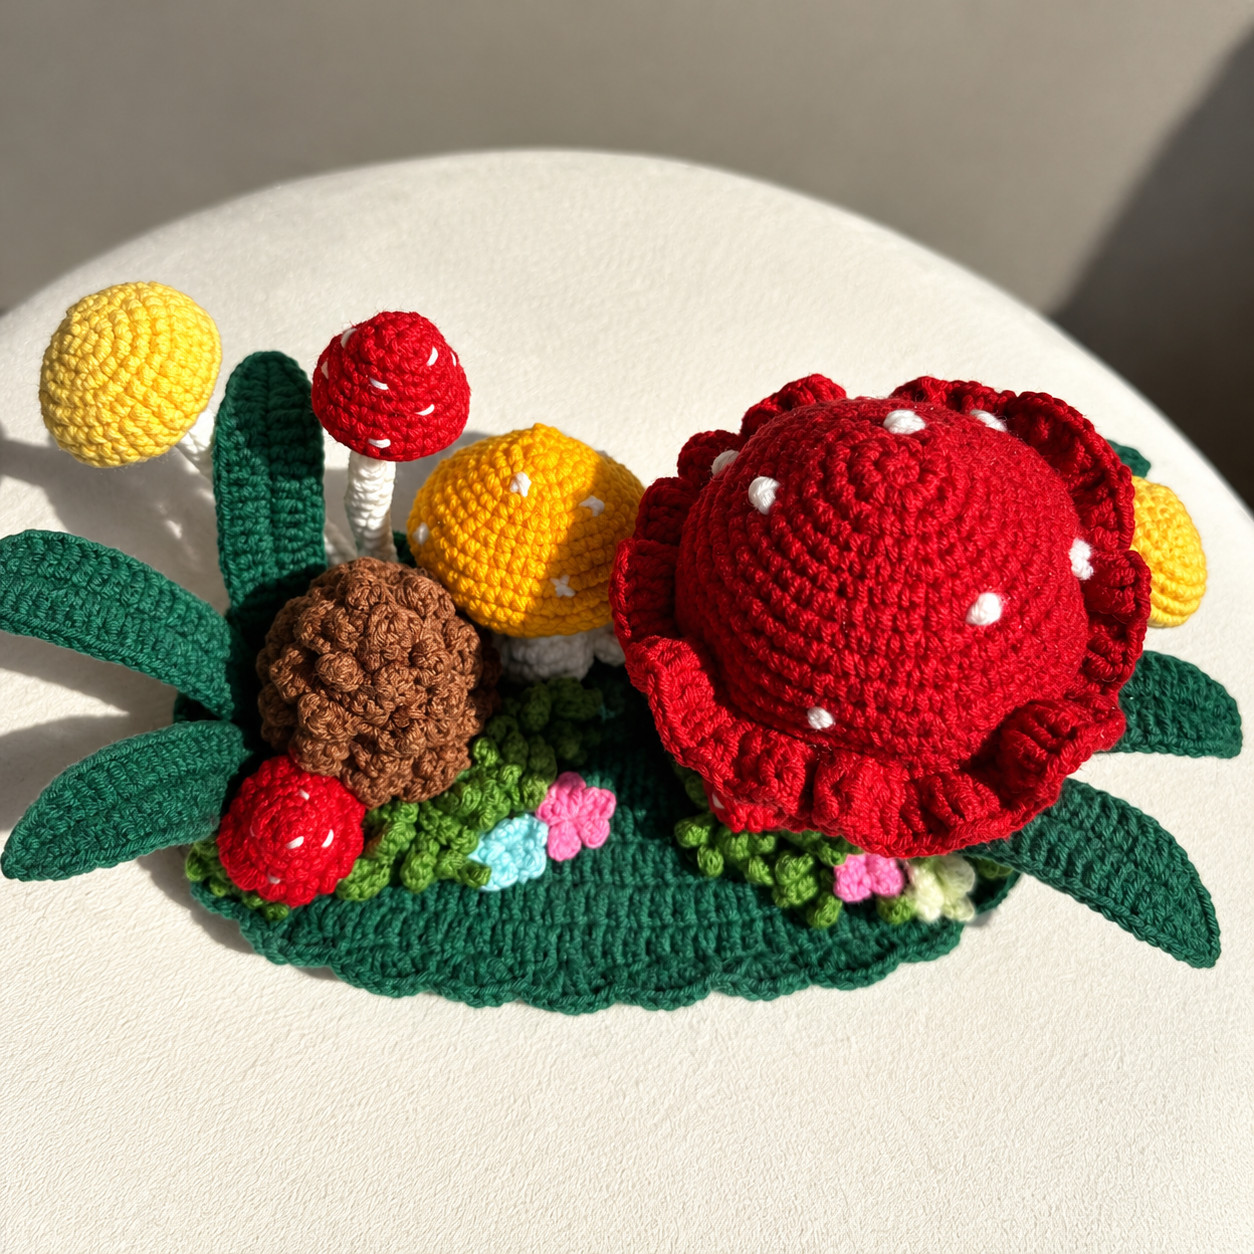
Everything about this pattern, before you pay for it
Most pattern listings tell you after. Here is the whole spec.
| What it is | A written crochet pattern, delivered as a PDF. The file itself is titled The Mushroom Forest. |
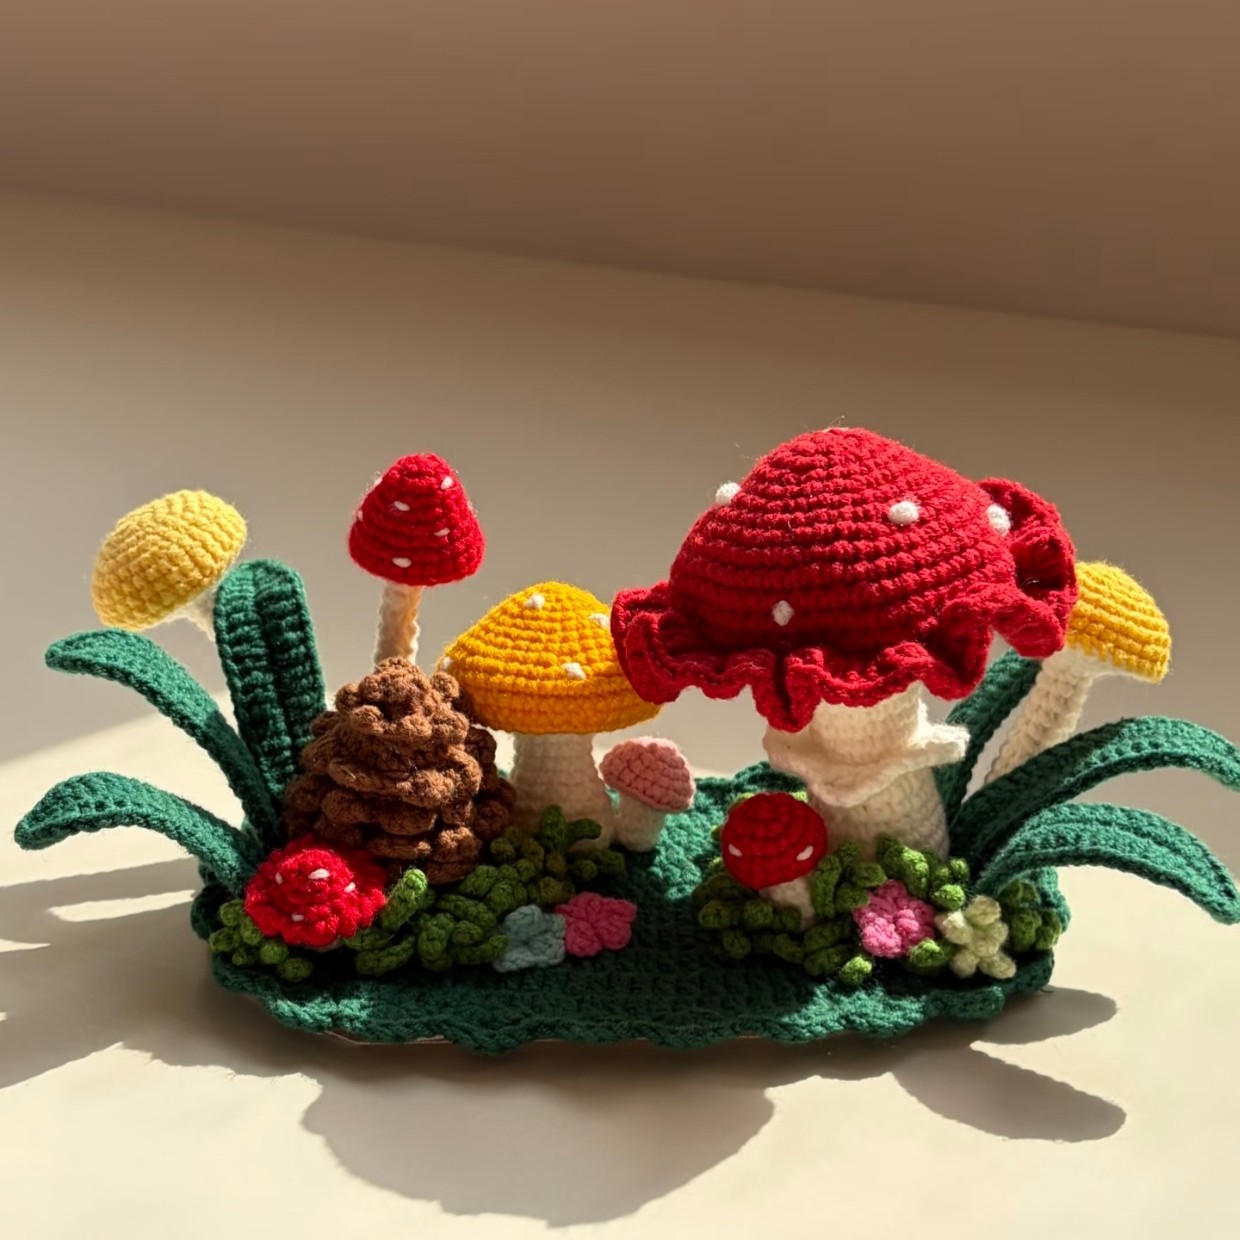
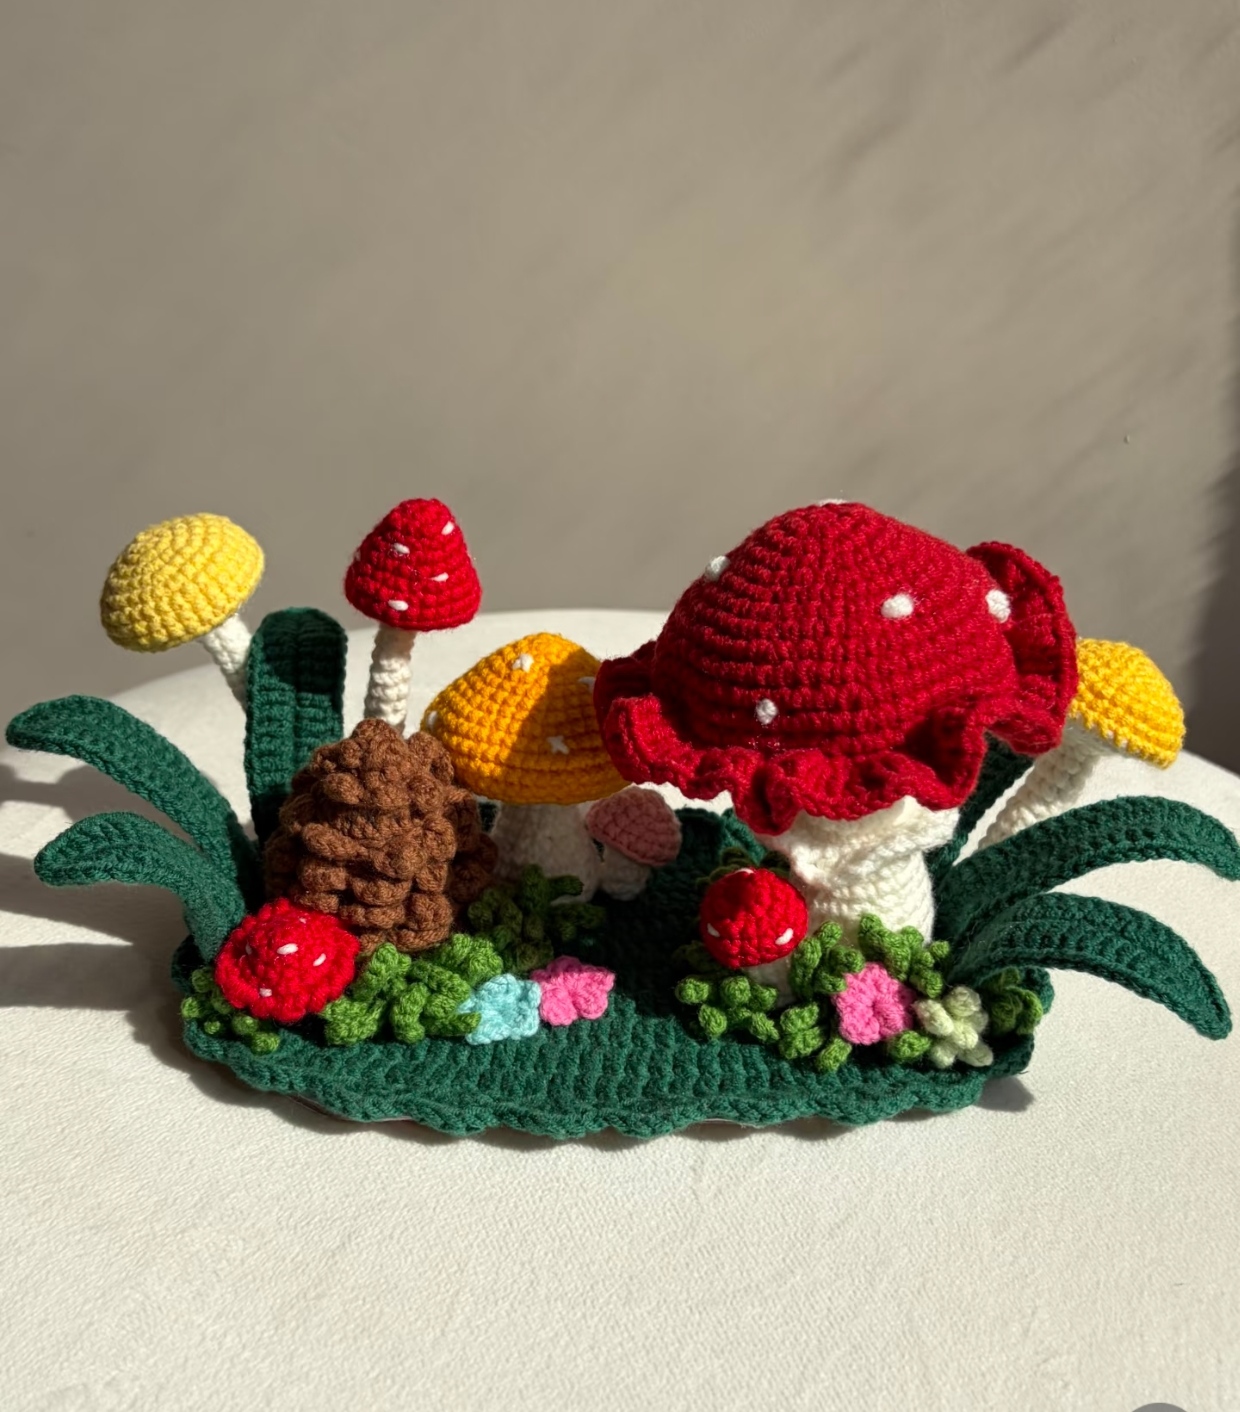
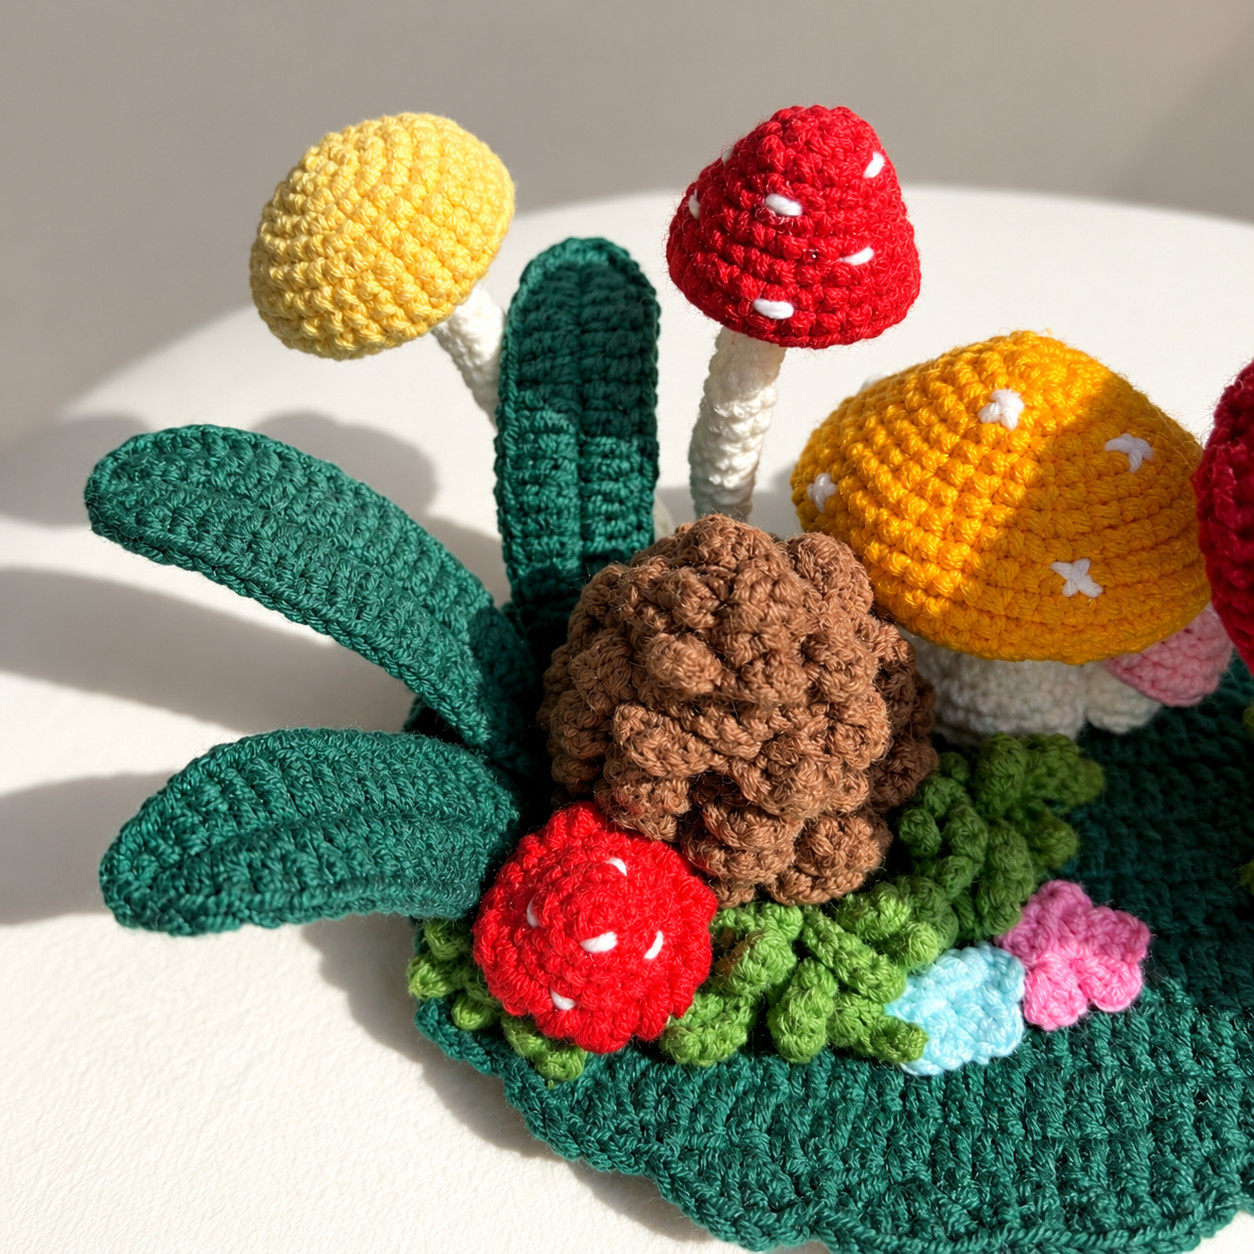
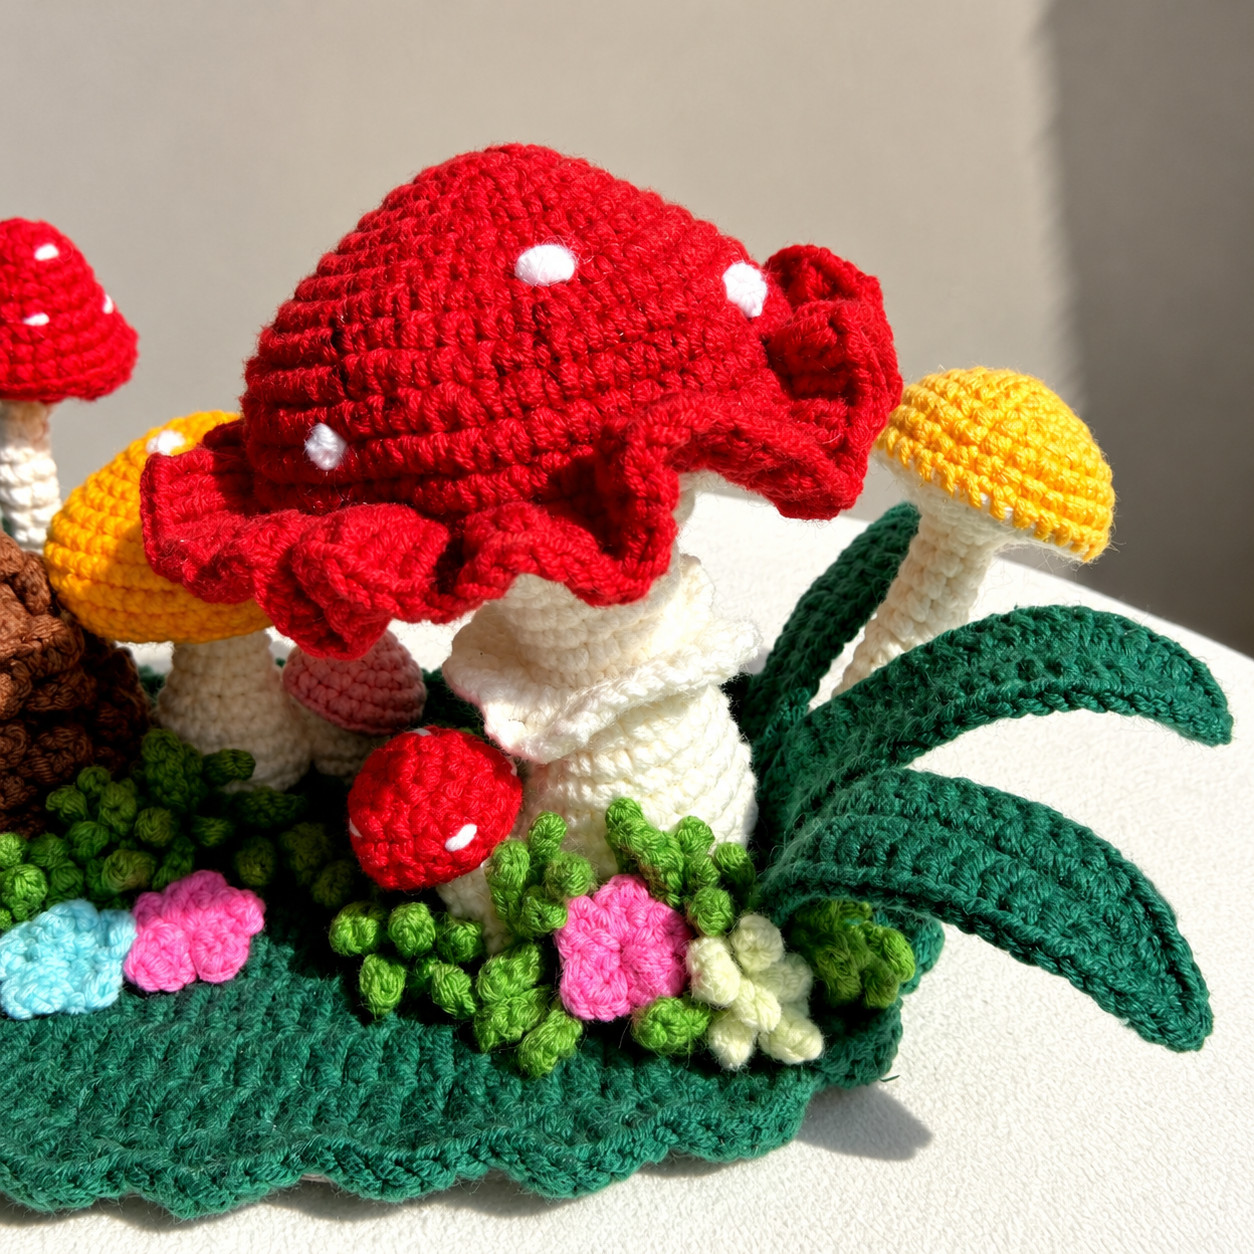
| What you make | A little woodland scene on a scalloped oval base: a big spotted toadstool with a frill round its stem, five smaller mushrooms, a scaled pinecone, six curling leaves with wire inside them, tufts of grass and small five-petal flowers. Every piece is made separately and glued into place, so you arrange the scene yourself. |
| Finished size | About 10.5 × 8.5 cm (4⅛ × 3⅜ in) at the base, and about 10 cm (4 in) tall. |
| How long it takes | About 12 hours in all, and no single piece takes more than about an hour and a quarter. The big mushroom’s cap and the base are the two longest, at about an hour and ten minutes each; a leaf is about seven minutes, a grass tuft about four, a flower under two. |
| Number of pieces | Twenty crocheted pieces — the base, six leaves, the pinecone, and two pieces for each of the six mushrooms — plus as many grass tufts and flowers as you want. The pattern suggests a dozen tufts. |
| Hook | 2.0 mm — the only hook in the pattern. |
| Yarn | 4-ply cotton (about a US sport weight) in eight colours: deep green for the base and leaves, brown for the pinecone, grass green for the grass, red for the mushroom caps, white for every stem, yellow and orange for two of the caps, and a bright colour for the flowers. A second, lighter shade of grass green if you want the grass to vary. The colours are yours; these are the ones the pattern is written in. |
| Yarn needed | About 30 g (80 yd) deep green · 25 g (65 yd) white · 25 g (65 yd) red · 15 g (40 yd) grass green · 12 g (30 yd) brown · 8 g (20 yd) orange · 4 g (10 yd) yellow · 4 g (10 yd) for the flowers — about 123 g (320 yd) in all. |
| Skill level | Intermediate, which is what the pattern itself says: many small pieces, back- and front-loop rounds, wire, sewn joins and glue assembly. |
| Techniques used | Magic ring · joined rounds, closing each one where it began · chain, slip stitch, single crochet, half double crochet and double crochet · the single crochet increase, and three single crochets into one stitch · the double crochet increase · the decrease · back loop only and front loop only, and going back to the free loops later · reverse single crochet, for a corded edge · the yarn-under single crochet · working around both sides of a starting chain · working a round over a length of wire · slip-stitch blades worked back along a chain · French knots · a sewn join, stitch for stitch, through free loops · gluing a scene together · weaving in ends |
| How it is built | Twenty pieces in six groups. The base: an oval of double crochet worked round both sides of a chain, 52 stitches out to 100, finished with a scalloped edge of 25 shells. The leaves: one round each, worked around a chain with the wire inside. The pinecone: fourteen rounds out to 24 and back to 6, most of them in the back loops, then ten rows of scales worked into the free loops they leave. The big mushroom: a cap of fifteen rounds, a stem of twenty, a frill worked into the stem’s free loops, and the two sewn together 56 stitches to 56. The small mushrooms: five of them and no two built alike — caps from five rounds to twelve, stems from five to twenty, and one stem as tall as you want it. The scene: everything glued down. |
| Worked in | Joined rounds — each one closes with a slip stitch where it began and the next starts with a chain that is not a stitch. Two exceptions, both called out where they happen: the tall mushroom’s stem is a continuous spiral with no joins, and the big mushroom’s frill is the one place a starting chain does count as a stitch. |
| The stitch the mushrooms use | All six mushrooms are worked in the yarn-under single crochet, which sits smaller and neater than the ordinary one and is why the little caps hold their shape without much stuffing. The pinecone and the base’s edging use the ordinary yarn-over single crochet. Every part says which, and the pattern explains the difference before you need it. |
| The wire | Inside all six leaves, so they curl and stay curled, and up the middle of the tall mushroom’s stem, so it stands and can be angled. The pattern says where to thread it, when, and how to fix the end. |
| Sewing | Four seams, and everything else is glued. The big mushroom’s cap to its stem, 56 stitches to 56 through the free loops round 13 leaves behind; the yellow mushroom’s cap to its stem, 30 to 30; the orange, 42 to 42; and the tall one to its stem round the rim its back-loop round makes. The two smallest mushrooms are glued to their stems rather than sewn, and the pattern says so where it happens. |
| Count checkpoints | Six: the pinecone at rounds 5 and 11; the big mushroom’s cap at rounds 10 and 13; and its stem at rounds 12 and 20. Each one gives the number you should have and what it means if you are out. |
| Also needed | Stitch markers · a blunt yarn needle · scissors · fiberfill · about a metre of thin, bendable craft wire · a hot glue gun for the large pieces and fast-setting glue with a fine nozzle for the small ones · a little craft glue for the yarn ends inside the small caps · tweezers · a steel needle to open a way up the tall stem for its wire · a garment steamer, if you have one, to flatten the base. |
| The base plate | The scene is glued down onto a small flat base about the size of the finished oval — a display plinth, stiff felt, plastic canvas or stiff card all work. It is not included. |
| Pages | 43 |
| Printing | The instructions are real text, not pictures of text — so you can search them, copy them, enlarge them, or have them read aloud. |
| Terminology | US crochet terms |
| Language | English |
| Left-handed | Written for you too. Work it exactly as written and every piece comes out a mirror image of the photos, which changes nothing: every piece is glued wherever you choose, so nothing in the scene is placed off-centre and nothing needs adjusting. The one place direction shows is the corded edge on the small mushroom’s cap, where you work back the other way. |
| Delivery | Download link on the confirmation page and in your email, straight away. |
Real crochet, captured while it was being made
You have learned to zoom in on a listing photo looking for stitches that don’t join up. You should — the shops selling patterns behind pictures that were never crocheted are real, and there are a lot of them.
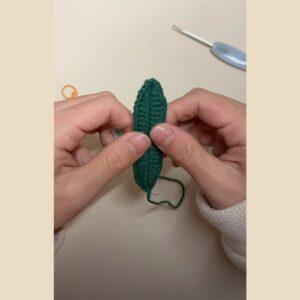
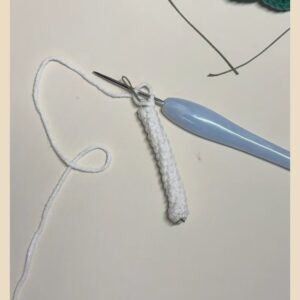
So here is the unglamorous version: a finished leaf held between two hands, its yarn tail still hanging; the pinecone before its scales, hanging from its yarn with the hook going in under one of its rows; and a stem for the tall mushroom, a narrow white tube still on the hook, with a length of wire beside it. Every one of these was captured while the piece was actually being made.
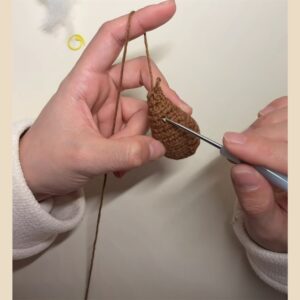
The bare pinecone is the one to look at. Most of its rounds go into the back loops only, which leaves rows of front loops standing free round the outside, and every scale is worked into those loops afterwards. A brown cone with rows of loops waiting on it is not something a render produces.
Nothing on this page is an AI-generated mushroom.
Counted twice
My grandmother taught me on her porch, and she said the same thing every time I tangled the yarn: slow down, count twice, rip it out if it’s wrong — there’s no shame in starting over.
So every pattern in this shop gets counted twice. Once when it’s written. Then again, before it goes on sale: every round is re-added, stitch by stitch, and checked against the round before it.
That’s the whole thing. It’s not clever. It is just the step almost nobody takes, because until a pattern is written down properly you can’t take it — and because nobody was ever asked to show their working.
I’m asking to show mine.
The worst thing a pattern does is not be difficult. It is to be wrong early, so that you find out much later and spend the next twenty minutes wondering whether it was you.
On this one the likeliest place for that isn’t a count at all — it’s an order. The frill that goes round the big mushroom’s stem is worked into loops the stem leaves free on round 12, and it is far easier to reach them while the stem is still loose in your hand. Sew the cap on first and those loops end up tucked under a stuffed, sewn dome, and you find out at the very end of the longest piece in the pattern. So the pattern tells you before you get there, twice: once in the tips at the front, and once at the stem, where round 12 has a box of its own.
Counted twice means you can tell. No more counting the same round for the third time, writing it out on paper to make it add up, and still not knowing whether it’s you or the pattern. The count in the pattern is right. If yours doesn’t match it, the slip is in the round you just made — undo that one round and carry on.
You probably have one project in a bag somewhere, stopped at a round you can still name. Often it stopped on a count that wouldn’t come out. Every count in this one comes out, which leaves you the part you came for: finishing it, and handing it to someone without an apology.
Here is a real page of it
A pattern that was never crocheted can show you a photograph. It cannot show you a page.
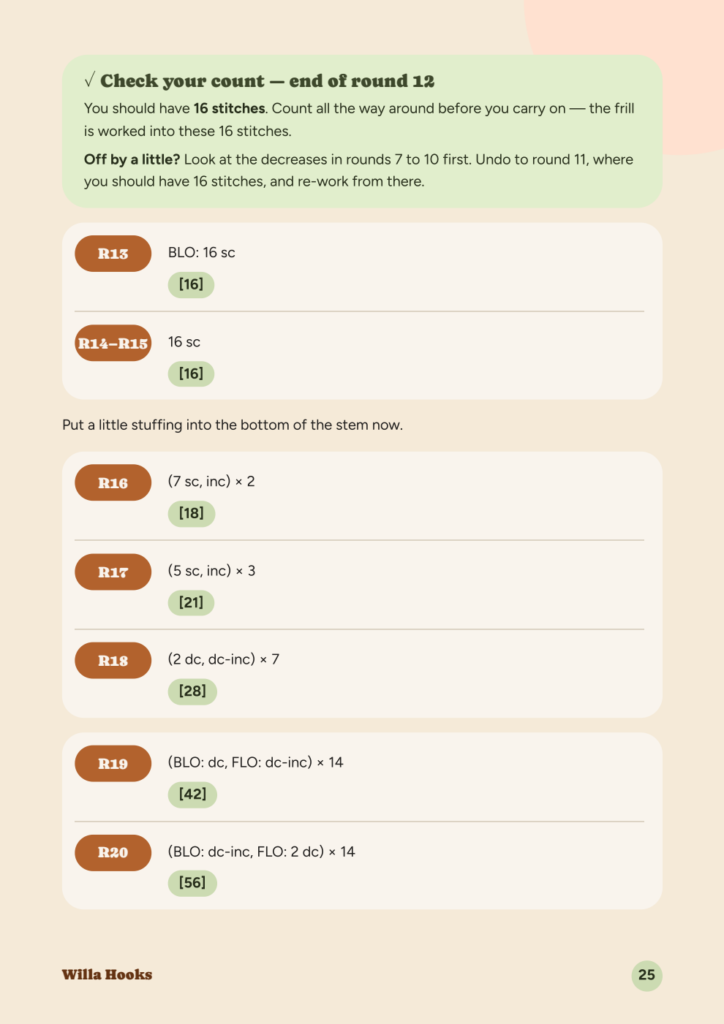
That box is the one that saves you an hour. The round after it goes into the back loops only, and the front loops it leaves free on round 12 are where the frill goes — so the box gives you the number you should have, and tells you the frill is worked into these same 16 stitches. This is page 25 of the 43 you get, and it is the same page you will be reading with a hook in your hand.


Reviews
There are no reviews yet.